A tech & life blog written and maintained by Michael Lamb
Go-Back-N Protocol
An algorithm solving for a lossy network
In what was probably my favorite college course I implemented a client/server system which would transmit messages across a lossy network. A client connects to the server to send a file. By tracking packet acknowledgements from the server, the client should repeat lost packets by using a go-back- n protocol where n is limited to 7 packets.
This was one of three programming assignments for a class called Data Communication Networks. I took this in the spring semester of 2016. My professor was Dr. Maxwell Young. In this post, I’ll give an overview of my archived repo available on GitHub. This assignment was foundational to my understanding of distributed systems. Using an emulator program written by Dr. Young to simulate a lossy network, I learned the importance of writing resilient code by enforcing an algorithmic protocol we referred to as go-back- n which is used by the client to ensure that all data was received by the server. The server would keep track of what packets it receives from a client and will only accept the expected sequence number. Below, you’ll find my comments on the code I submitted as part of this assignment. We were permitted a partner when writing the algorithm itself, but the networking code we were expected to complete on our own.
Usually, a server is a program that runs as a service on an operating system for high availability to accept any number of clients. Because this particular client/server implementation was for a class assignment I opted to close my server once the program requirements are satisfied. Obviously this wasn’t built for any sort of production use and is provided only as educational material.
makefile
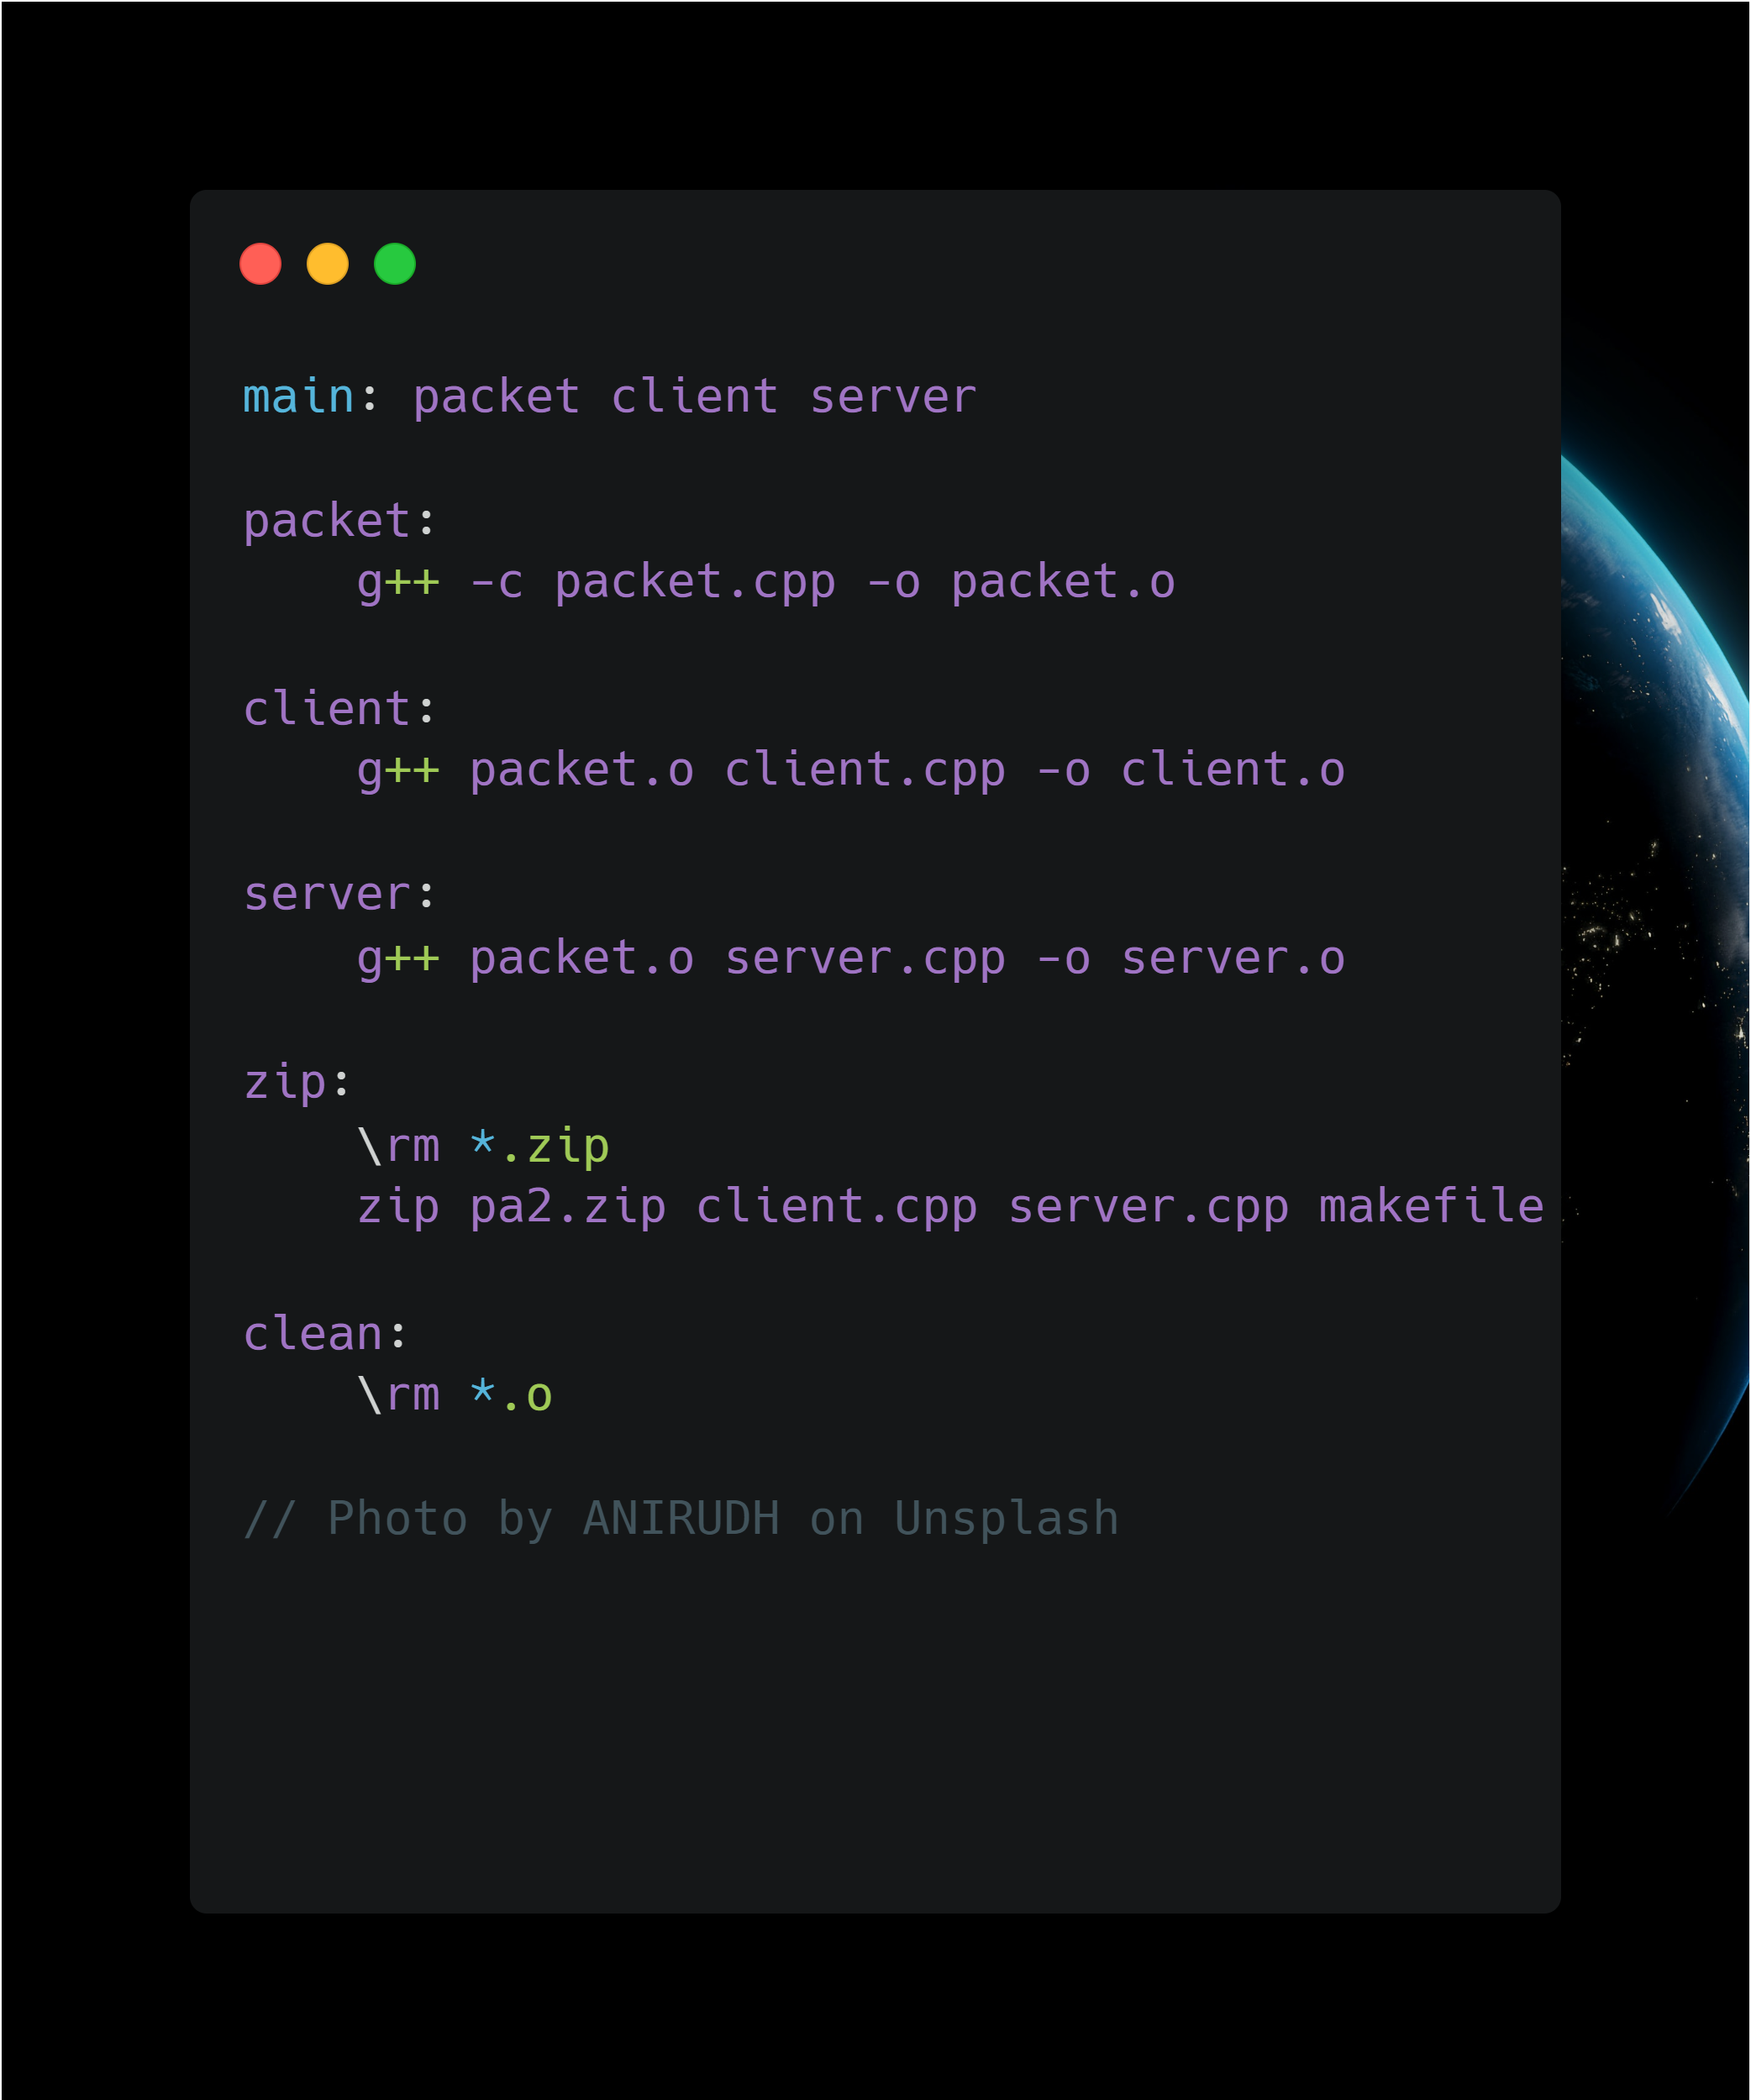
I was constantly rebuilding the entire distributed system and running it locally on my machine. My makefile here creates the necessary executable files from source in order: first create the packet.o executable, then use packet.o to build the client and server executables. Running make main accomplishes all of this. Because the client and server are tiny the build process executed in less than a second which made the feedback loop very quick when I was writing this.
Running make zip was a requirement from the assignment and so I included it here to make a zip file called pa2.zip including the specified source files.
make clean deletes all executables in the directory
client.cpp
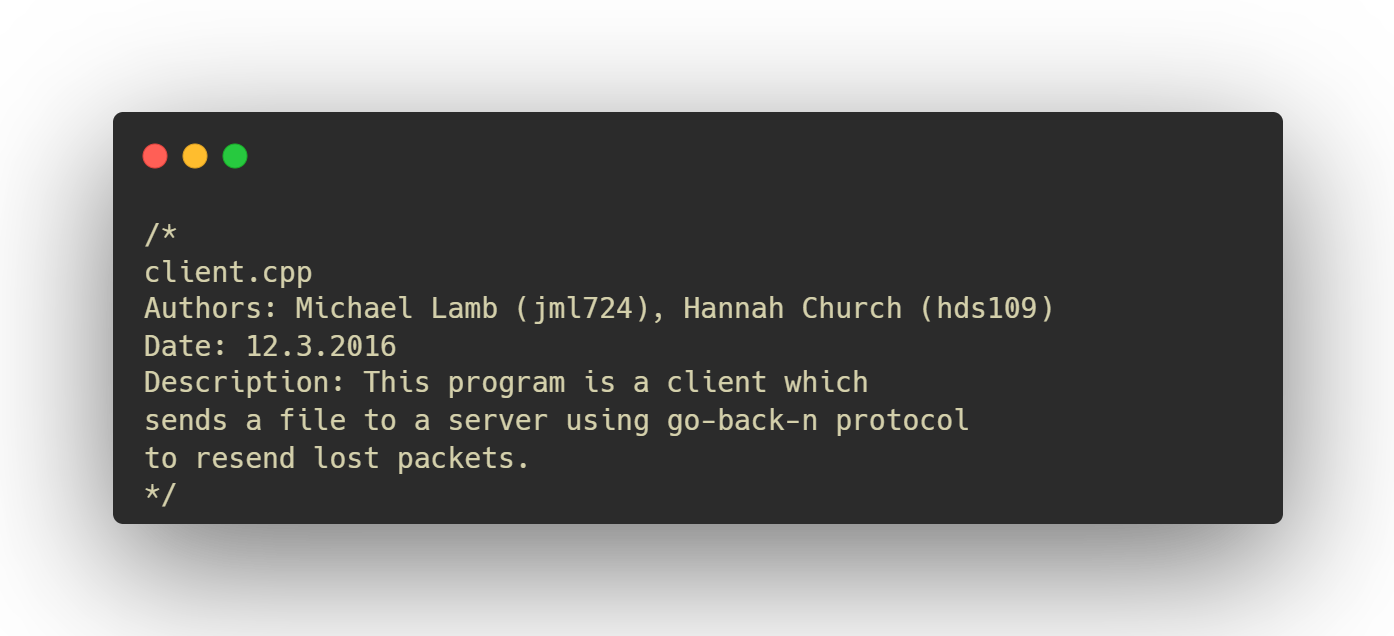
Shout out to Hannah Thiessen (referenced here by her former name, Hannah Church) who helped write the client implementation of go-back- n. We spent a long, long Saturday in Butler Hall working on just that portion alone. JJ Kemp observed our work, as was his way.
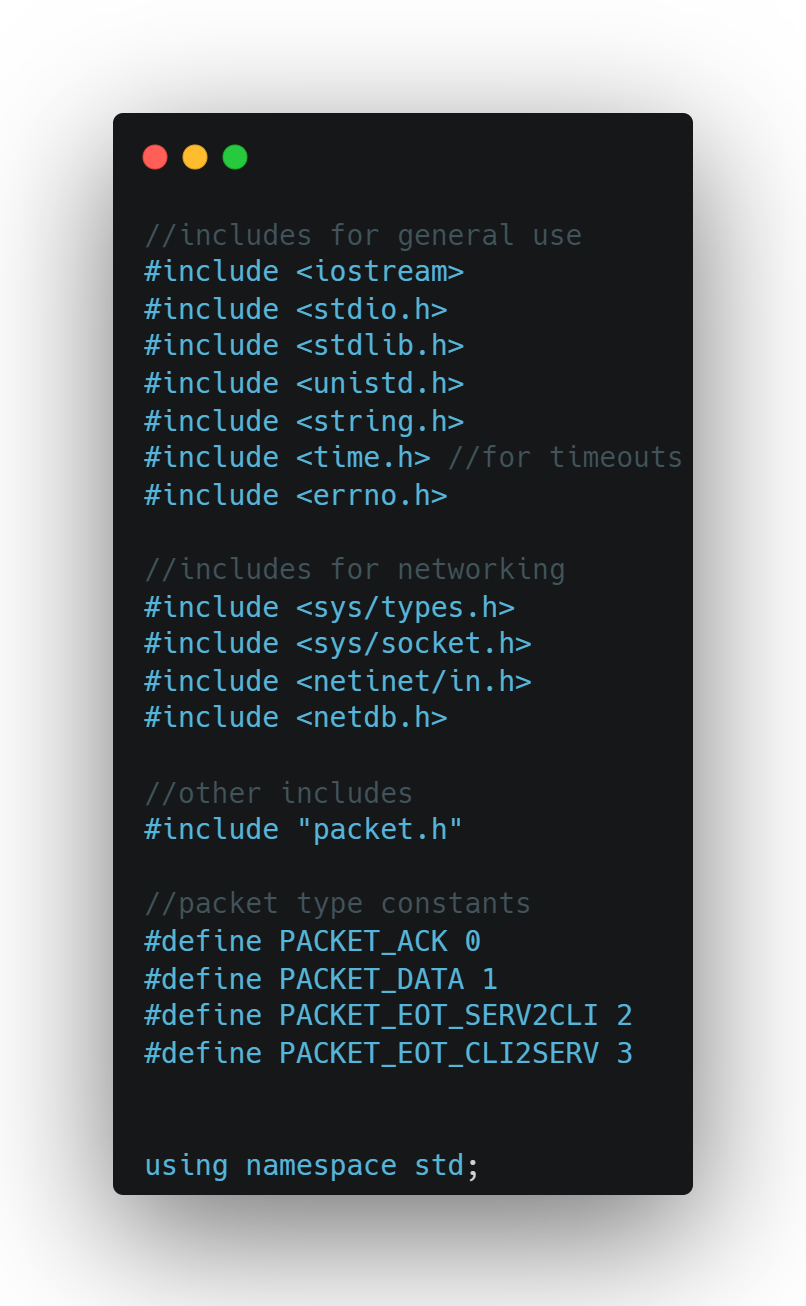
Libraries included in the client provide basic i/o and networking.
packet.h provides a class to represent individual packets sent between the client and server. Constants are defined to represent the type of packet received; PACKET_ACK describes a packet from the server acknowledging receipt; PACKET_DATA describes a packet from the client with data; PACKET_EOT_SERV2CLI is a one-time packet type which tells the client to close; PACKET_EOT_CLI2SERV is a one-time packet type which tells the server to close because of the end of transmission.
The client uses libraries in the std namespace.
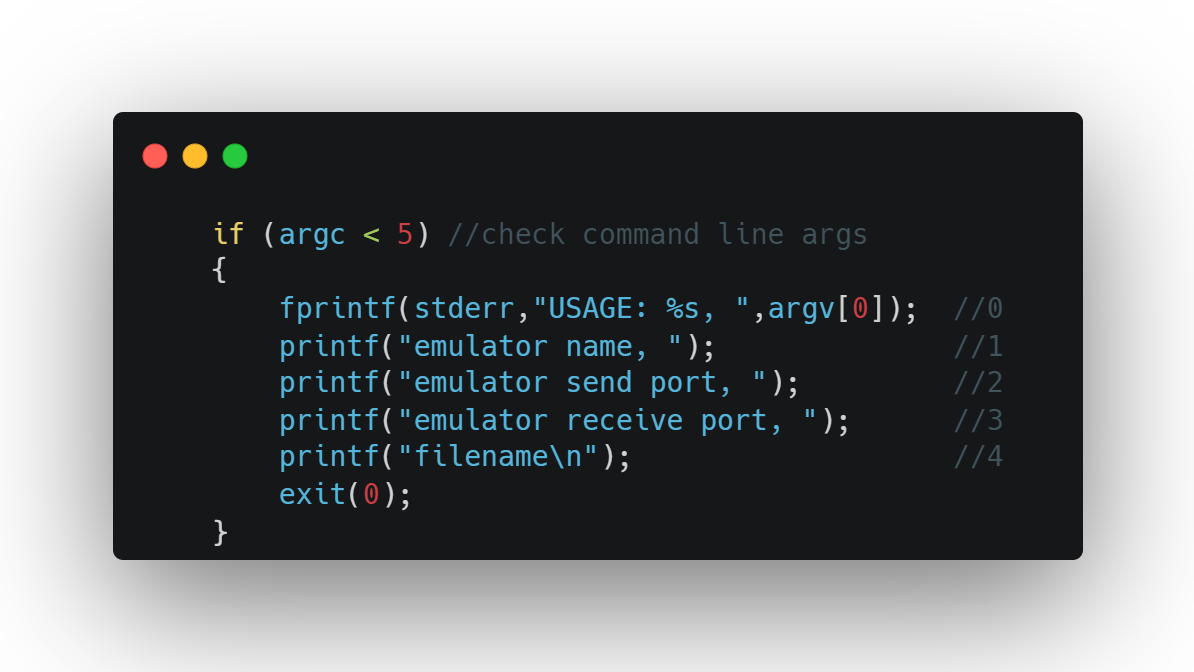
Command line arguments to the client configure how the client will connect to the emulator program, provided as part of the assignment as an executable with its own CLI. The server connects to the opposite send/receive ports to enable two-way messaging with the client. The filename argument specifies what file to parse into packets for messaging.
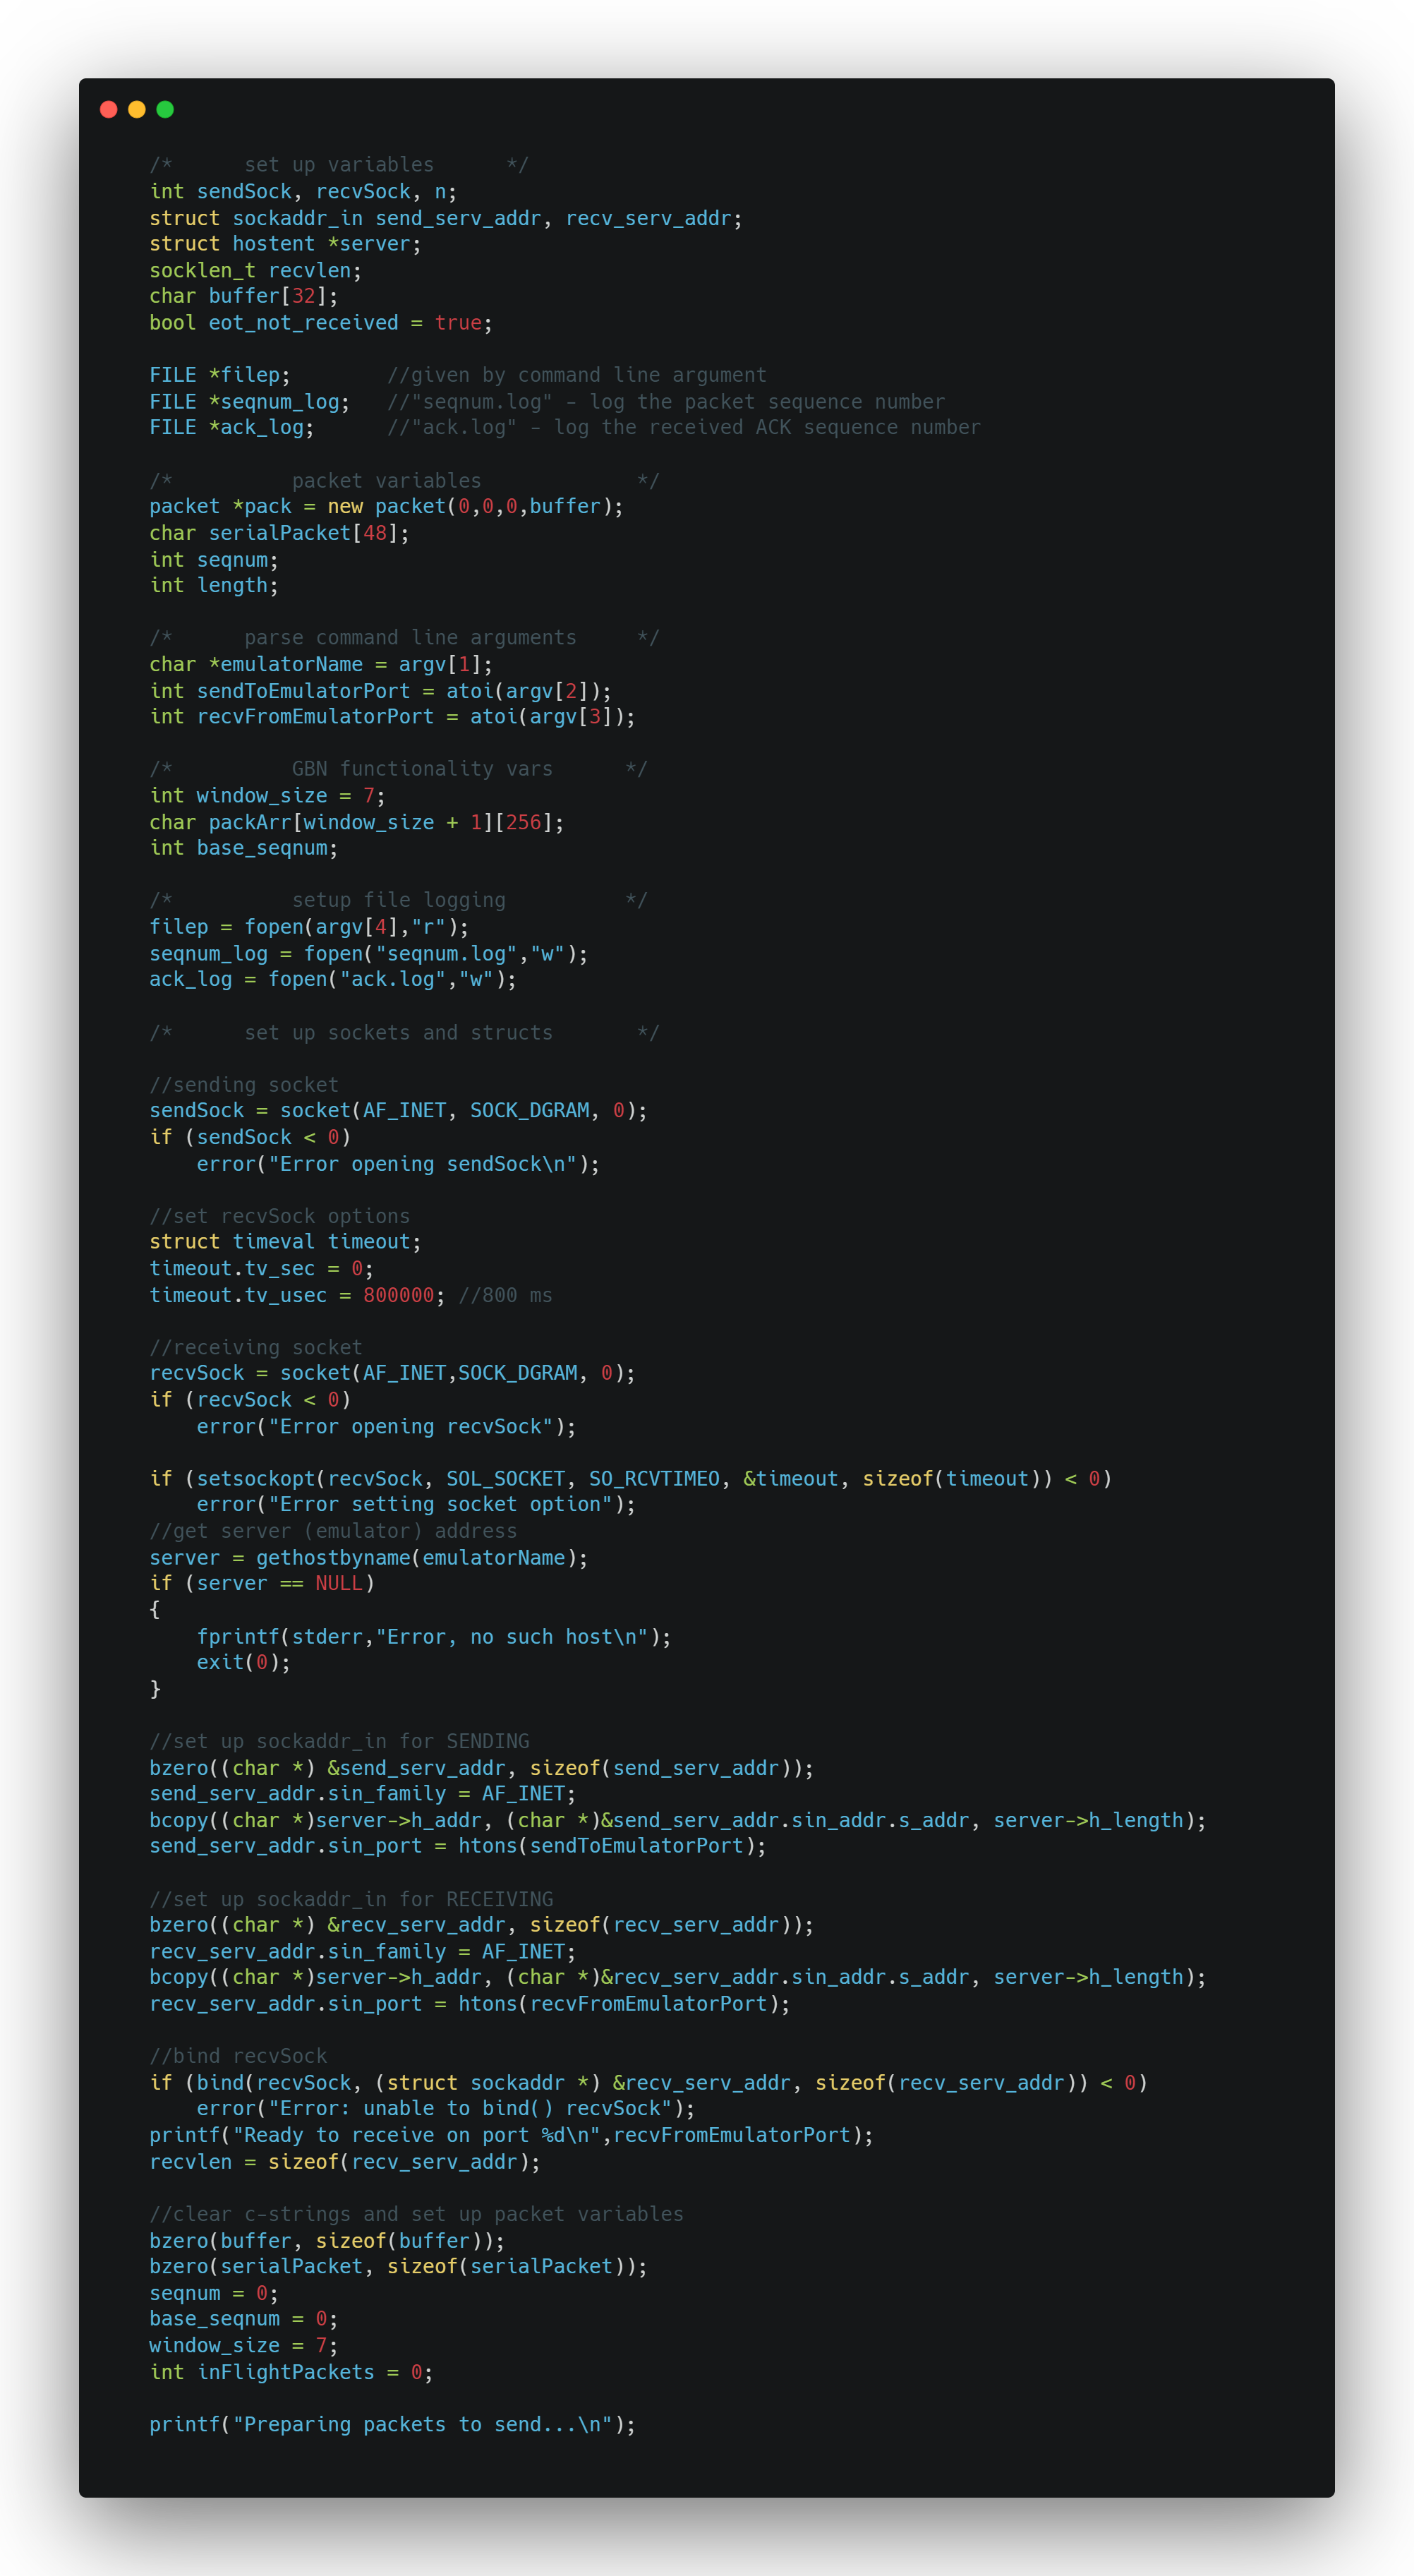
Here’s what’s going on in this snippet: everything here lives in the main function. This sets up networking i/o and file i/o, as well as some tracking variables related to packet messaging and logging including a timeout for ACK responses from the server.
If I were to refactor this code, I would separate the network and file i/o from the main logic for sending packets to the server. The separations would either move the relevant parts to separate functions or into an individual class. Though there is some overlap between the client and server in regards to file and network i/o, I can imagine creating indivual classes for each concern would still result in client-specific and server-specific i/o classes.
server.cpp
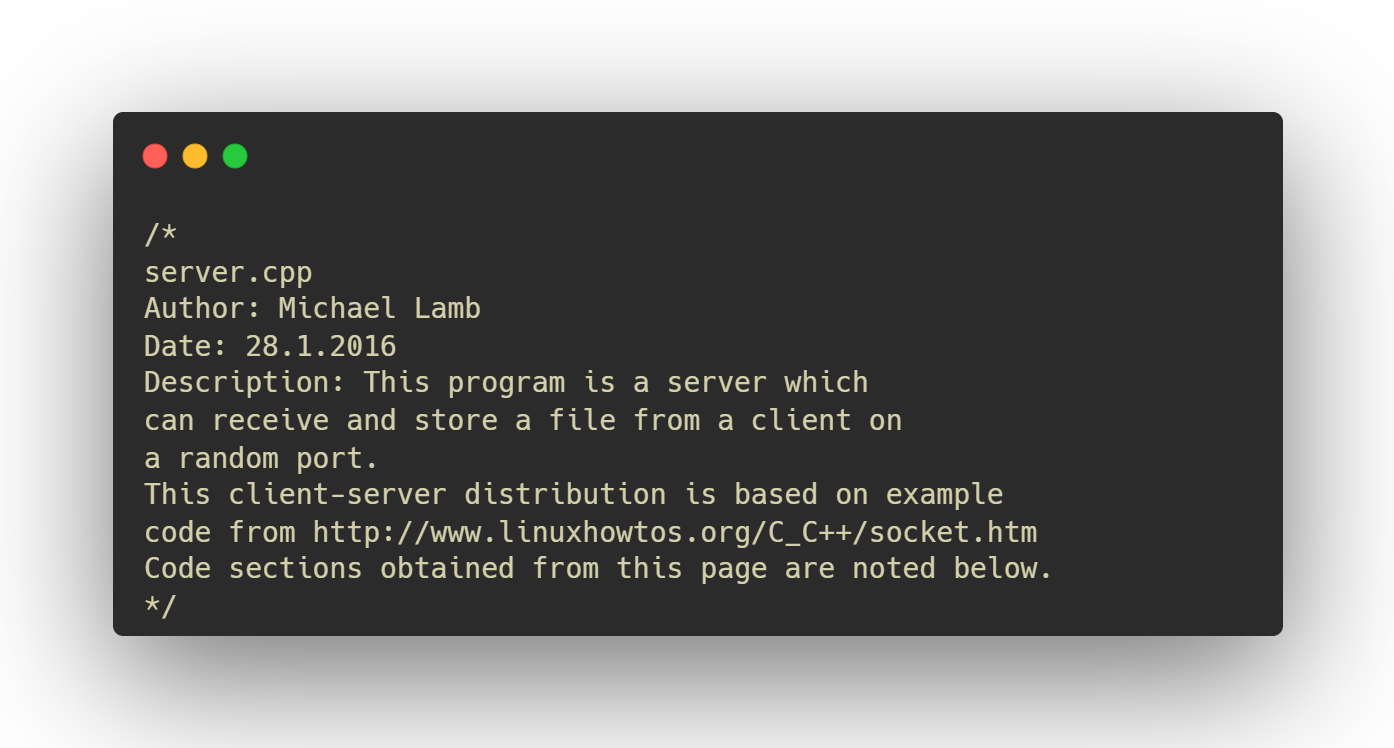
The best resource I found for the basics of getting a server up and running was from linuxhowtos.org. I referenced it here because I’m a good boy who doesn’t want to plagiarize. Always give credit.
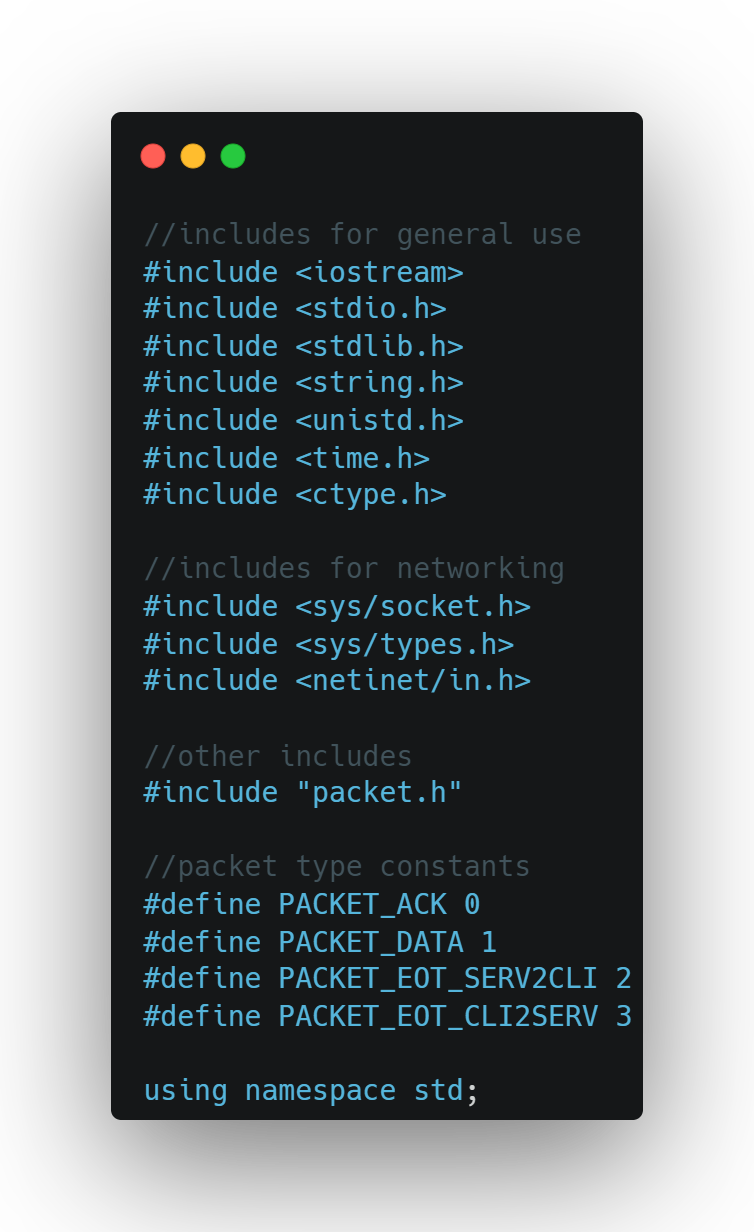
Libraries included in the server provide basic i/o and networking.
packet.h provides a class to represent individual packets sent between the client and server. Constants are defined to represent the type of packet received; PACKET_ACK describes a packet from the server acknowledging receipt; PACKET_DATA describes a packet from the client with data; PACKET_EOT_SERV2CLI is a one-time packet type which tells the client to close; PACKET_EOT_CLI2SERV is a one-time packet type which tells the server to close because of the end of transmission.
The server uses libraries in the std namespace.
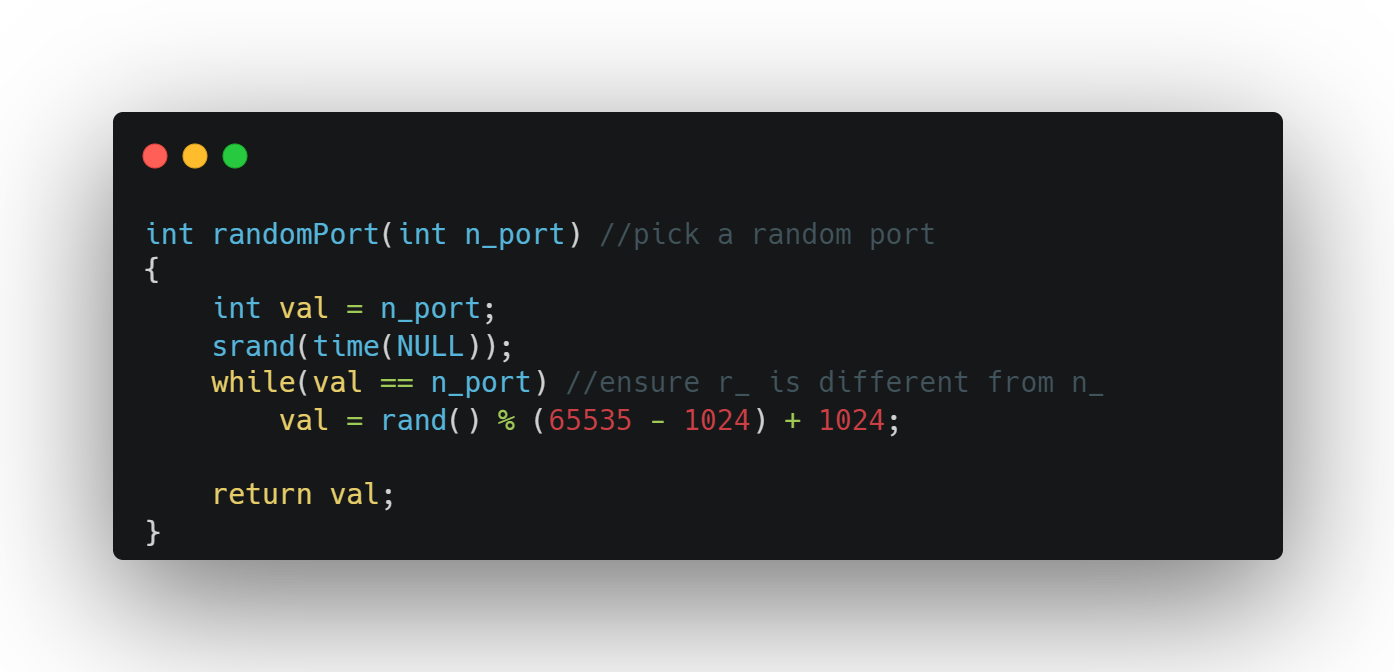
randomPort is a function which accepts an int parameter and returns an int value. n_port is the port number with which a random port will communicate, so the value is required to be different from n_port. There is a problem with the assignment to val in the while loop: a random value is modded by 64511 which is computed first and 1024 is added to the computed remainder. When I originally wrote this I was attempting to enforce some guarantee that the random port number wouldn’t use one of the commonly reserved ports (below 1024) and the thought process I had is an attempt at hashing out the logic: a random value will be some large number seeded on the system clock and so I should attempt to generate a value between the possible port numbers while accounting for the fact that ports lower than 1024 are reserved, so I should add that amount back.
The problem is that there is a chance this algorithm accidentally creates a port number outside of the acceptable range 65535. A correct implementation would have separated the conditions: once a value is assigned modded by 65535, check if the value is less than 1024. If yes, then re-roll.
Here’s how I’d rewrite it now:
int randomPort(int n_port) //pick a random port
{
    int val = n_port;
    srand(time(NULL));
    while(val == n_port && val < 1024) //ensure r_ is different from n_
                                       //ensure r_ is not a reserved port below 1024
        val = rand() % 65535;

    return val;
}
If the return value would result in a reserved port number, the while loop would simply generate a new value until it finds one which satisfies the exit condition of the loop.
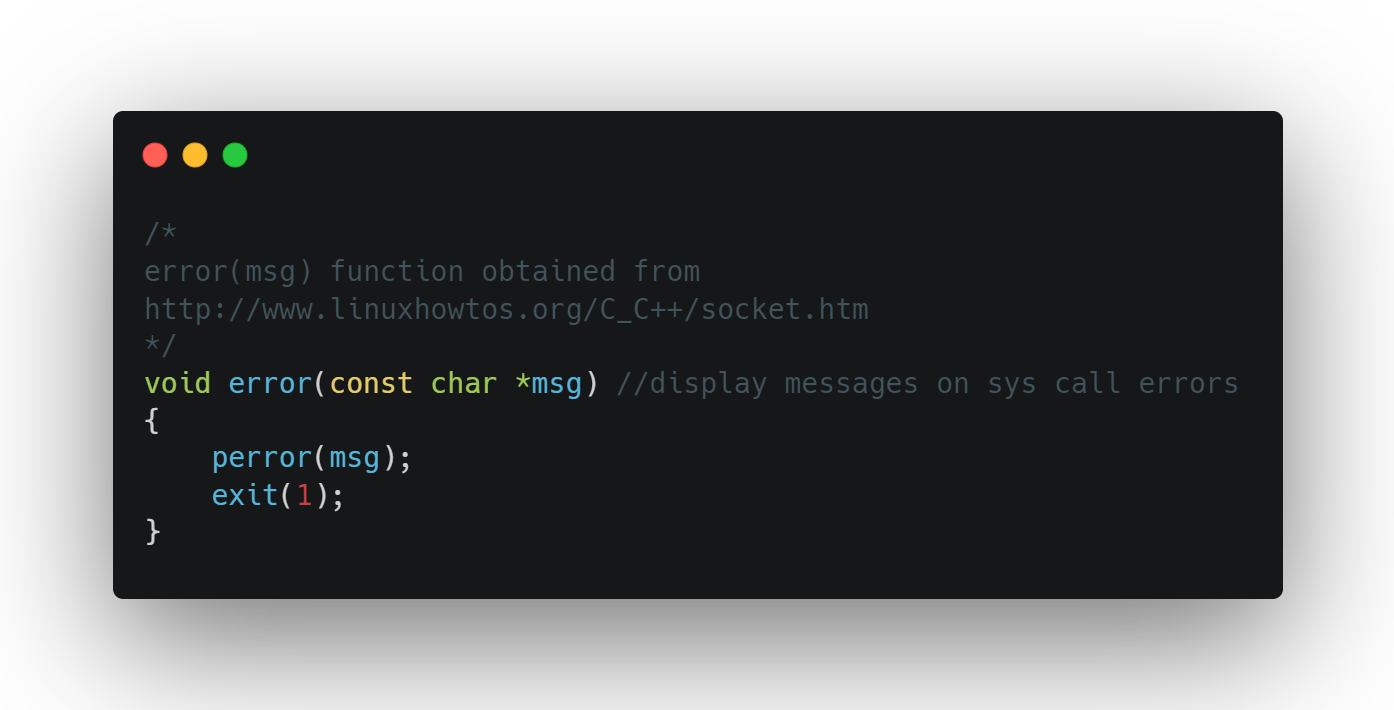
The error method provides a convenient way to fail fast by printing out a custom error message and exiting. I’ve learned a lot about error handling since this program but this is still one of the most elegant pieces of code I’ve ever seen.
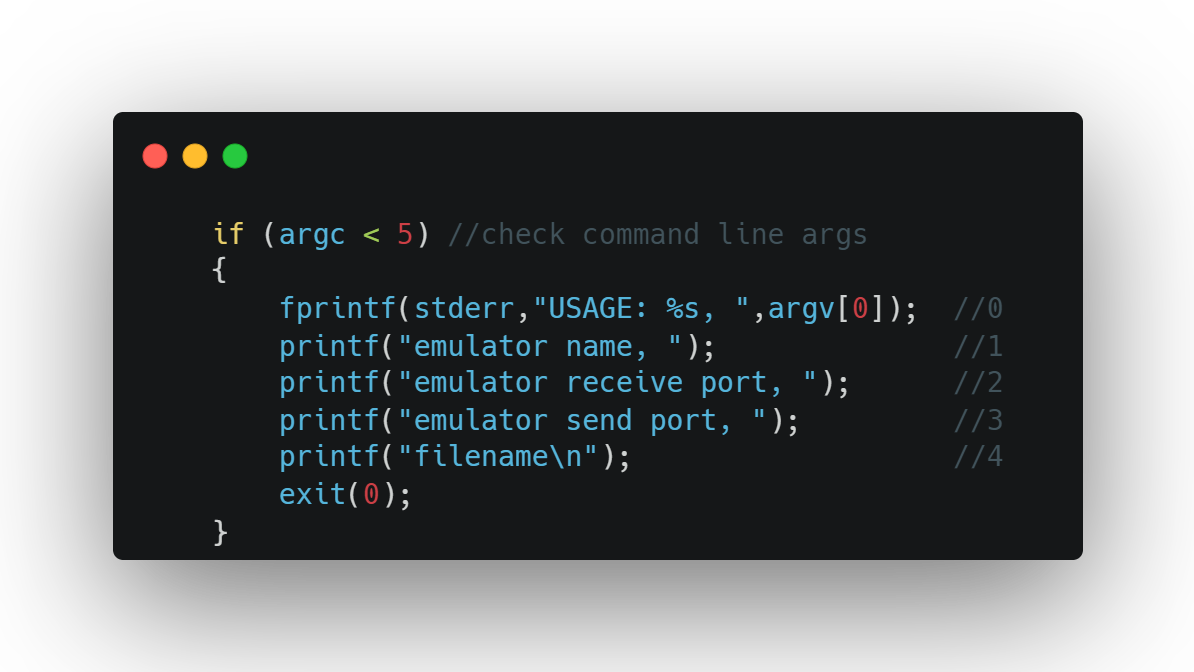
Command line arguments to the server configure how the server will connect to the emulator program, provided as part of the assignment as an executable with its own CLI. The client connects to the opposite send/receive ports to enable two-way messaging with the server. The filename argument specifies which file to use for logging messages.
Published on 16 February 2022.
Distributed Systems pt.0
This post is a work in progress.
Introduction
Distributed computing systems are an important reality to wrestle with at many levels of technical exposure. Similar to the concept of a cluster I discussed in this blog post, a distributed system is “a collection of autonomous computing elements that appears to its users as a single coherent system” (van Steen, Tanenbaum). Distributed computing environments introduce new dynamics which can affect application development. Enterprise-level corporations (< 500-1000 employees) are best known to operate in distributed environments, and any organization larger than that is guaranteed to use distributed computing. To contrast a cluster from a distributed system, I would say that a cluster is a galaxy and a distributed computing environment is a universe.
It is common for someone new to a distributed system to make some basic assumptions which will cause more issues given time. These assumptions are known as the Fallacies of Distributed Computing.
Fallacies of Distributed Computing
The fallacies of distributed computing are:
- The network is reliable;
- Latency is zero;
- Bandwidth is infinite;
- The network is secure;
- Topology doesn’t change;
- There is one administrator;
- Transport cost is zero;
- The network is homogeneous.
Reading List
The reading list below is a copy of the currently available version written by Christopher Meiklejohn.
Consensus
The problems of establishing consensus in a distributed system.
-
In Search of an Understandable Consensus Algorithm
2013
-
A Simple Totally Ordered Broadcast Protocol
2008
-
Paxos Made Live - An Engineering Perspective
2007
-
The Chubby Lock Service for Loosely-Coupled Distributed Systems
2006
-
2001
-
Impossibility of Distributed Consensus with One Faulty Process
1985
-
The Byzantine Generals Problem
1982
Consistency
Types of consistency, and practical solutions to solving ensuring atomic operations across a set of replicas.
-
Highly Available Transactions: Virtues and Limitations
2013
-
Consistency Tradeoffs in Modern Distributed Database System Design
2012
-
CAP Twelve Years Later: How the “Rules” Have Changed
2012
-
Calvin: Fast Distributed Transactions for Partitioned Database Systems
2012
-
2005
-
Brewer’s Conjecture and the Feasibility of Consistent, Available, Partition-Tolerant Web Services
2002
-
Harvest, Yield, and Scalable Tolerant Systems
1999
-
Linearizability: A Correctness Condition for Concurrent Objects
1990
-
Time, Clocks, and the Ordering of Events in a Distributed System
1978
Conflict-free data structures
Studies on data structures which do not require coordination to ensure convergence to the correct value.
-
A Comprehensive Study of Convergent and Commutative Replicated Data Types
2011
-
A Commutative Replicated Data Type For Cooperative Editing
2009
-
CRDTs: Consistency Without Concurrency Control
2009
Distributed programming
Languages aimed towards disorderly distributed programming as well as case studies on problems in distributed programming.
-
Logic and Lattices for Distributed Programming
2012
-
Dedalus: Datalog in Time and Space
2011
-
MapReduce: Simplified Data Processing on Large Clusters
2004
-
A Note On Distributed Computing
1994
Systems
Implemented and theoretical distributed systems.
-
Spanner: Google’s Globally-Distributed Database
2012
-
ZooKeeper: Wait-free coordination for Internet-scale systems
2010
-
A History Of The Virtual Synchrony Replication Model
2010
-
Cassandra — A Decentralized Structured Storage System
2009
-
Dynamo: Amazon’s Highly Available Key-Value Store
2007
-
Stasis: Flexible Transactional Storage
2006
-
Bigtable: A Distributed Storage System for Structured Data
2006
-
2003
-
Lessons from Giant-Scale Services
2001
-
Towards Robust Distributed Systems
2000
-
Cluster-Based Scalable Network Services
1997
-
The Process Group Approach to Reliable Distributed Computing
1993
Books
Overviews and details covering many of the above papers and concepts compiled into single resources.
-
Distributed Systems: for fun and profit
2013
-
Programming Distributed Computing Systems: A Foundational Approach
2013
-
2012
-
Introduction to Reliable and Secure Distributed Programming
2011
Published on 13 February 2022.
Containers on k3s
How does one run containers on k3s? Here are a few things I did to play around with my cluster.
Syntax
The following syntax describes how to run kubectl commands from the terminal:
kubectl [command] [TYPE] [NAME] [flags]
commandspecifies the operation to be performedTYPEspecifies the resource type (e.g. pod, node, deployment, service)NAMEspecifies the name of the resourceflagsspecifies optional flags
Documentation: kubectl run
BusyBox
BusyBox is a suite of tools for Linux that provides a shell interface. The image is useful for testing as a running container because the image is lightweight. I used the following command to ephemerally run the container on k3s:
k3s kubectl run -it --rm --restart=Never busybox-test --image=busybox sh
Breakdown
k3s: CLI for k3skubectl: CLI for Kubernetes (wrapped by k3s)run: kubectl command-it: make the container interactive-rm: delete the pod after it exits. Only valid when attaching to the container, e.g. with ‘–attach’ or with ‘-i/–stdin’--restart=Never: do not restart the container upon exitbusybox-test: the resource name (used by k8s)--image=busybox: specifiesbusyboxas the image to build the containersh: requestsshaccess tobusyboxshell in container
Helm
Did you know there was a package manager for Kubernetes clusters? Helm is a tool useful for installing Charts which is a Helm package containing all resource definitions necessary to run some application, tool, or service on a k8s cluster. In addition to Charts, Helm also embodies two other concepts: a Repository is the place where charts can be collected and shared and a Release is an instance of a chart running on a k8s cluster. From the Helm intro: “Helm installs charts into Kubernetes, creating a new release for each installation. And to find new charts, you can search Helm chart repositories.”
Using Helm, I can leverage my k3s cluster by making use of existing Helm charts.
OpenVPN
I want to run a simple VPN server on my network. It won’t handle crazy traffic and I’m mostly trying this just for the sake of learning.
First, I installed Helm to node1 so that I could use the openvpn-as helm chart. I used the following command to add charts from stenic to the Helm package repositories:
helm repo add stenic <<<<<<<<https://stenic.github.io/helm-charts>>>>>>>>
The next command deploys the container:
helm install openvpn-ml --set "service.type=LoadBalancer" stenic/openvpn-as
I initally encountered this error after running the helm install command:
Error: INSTALLATION FAILED: Kubernetes cluster unreachable: Get "<<<<<<<<http://localhost:8080/version":>>>>>>>> dial tcp [::1]:8080: connect: connection refused
The error stems from Helm trying to make use of the same configuration file used by Kubernetes. Since I am running k3s, the following command sets the KUBECONFIG environment variable to point to the k3s configuration:
export KUBECONFIG=/etc/rancher/k3s/k3s.yaml
Now, Helm should be able to install the chart and make use of the k3s cluster.
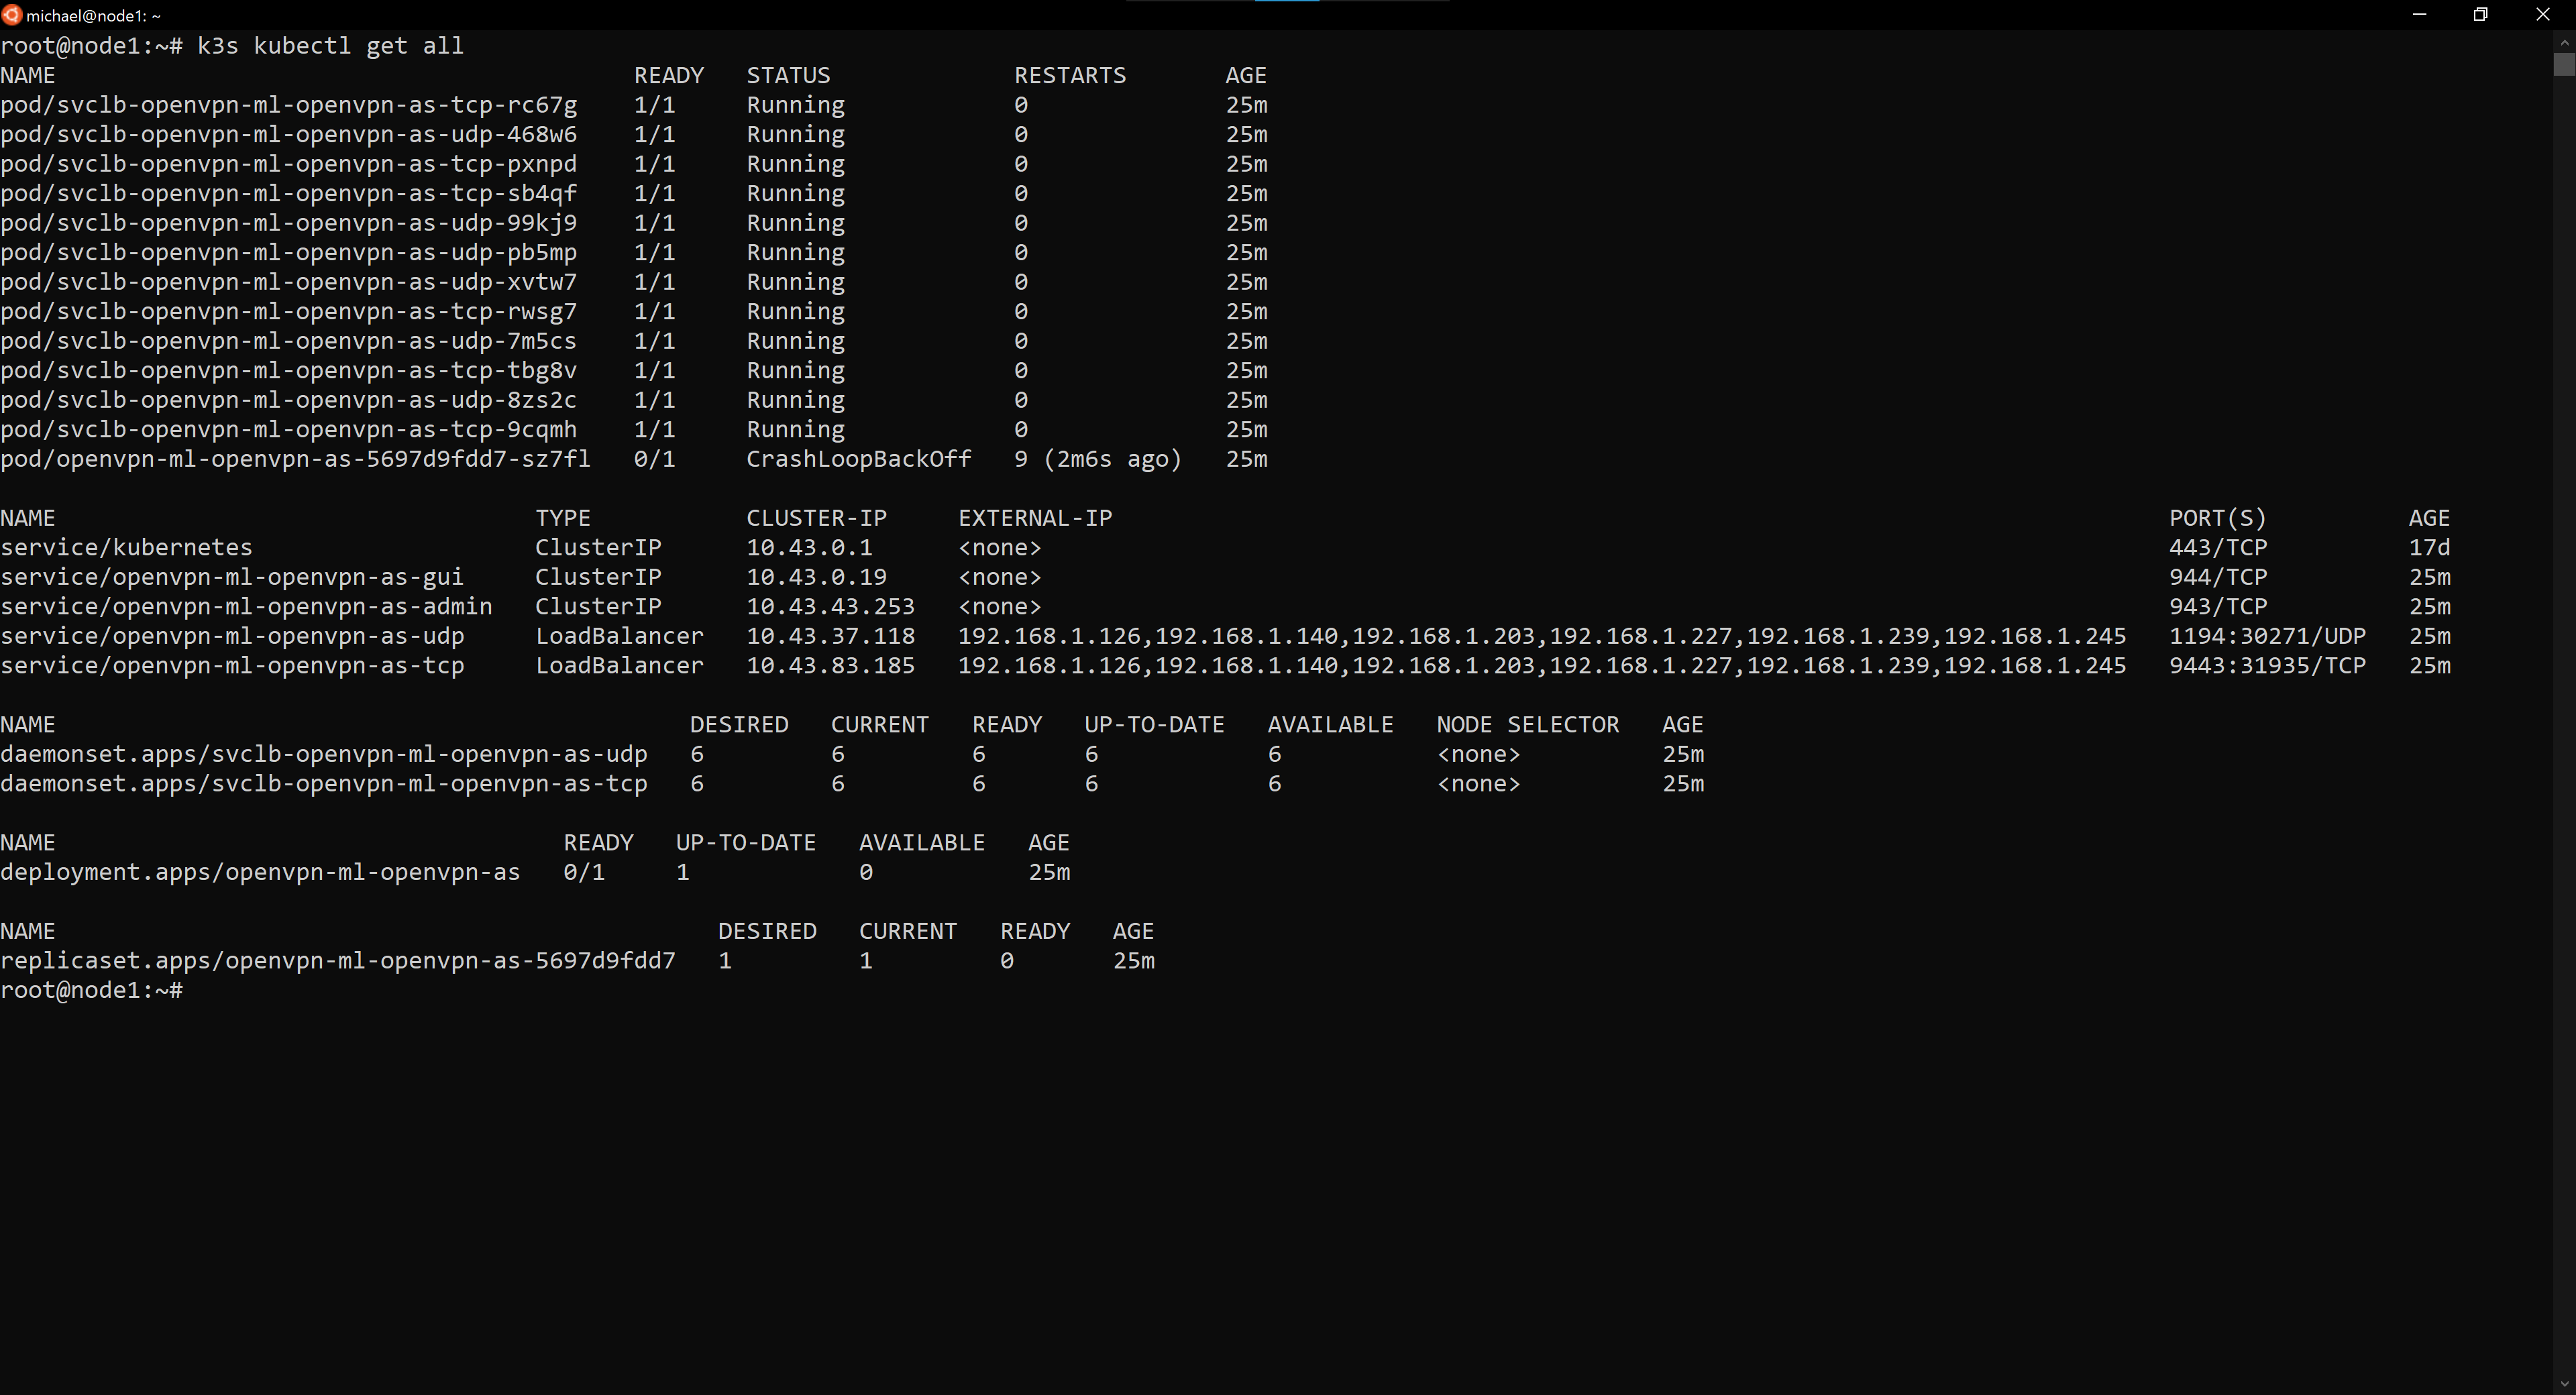
Result
I was not able to get OpenVPN properly set up as the pod running OpenVPN Access Server has a status of CrashLoopBackoff but it does appear that the chart was able to deploy 12 running pods.
Published on 06 February 2022.
k3s Installation
k8s -> k3s
In March 2021 I first posted about setting up a Pi cluster. Initially, I had tried (and subsequently failed) to set up a full-fledged Kubernetes (k8s) cluster. Then, I discovered k3s, a lightweight distribution of Kubernetes designed for edge environments (which also works on ARM devices). It ships with an embedded sqlite3 database as default storage when setting up a server node but it is trivial to use etcd3/MySQL/PostgreSQL if desired. I was very pleased with how simple the k3s launcher is and it made the entire installation experience straightforward.
Architecture
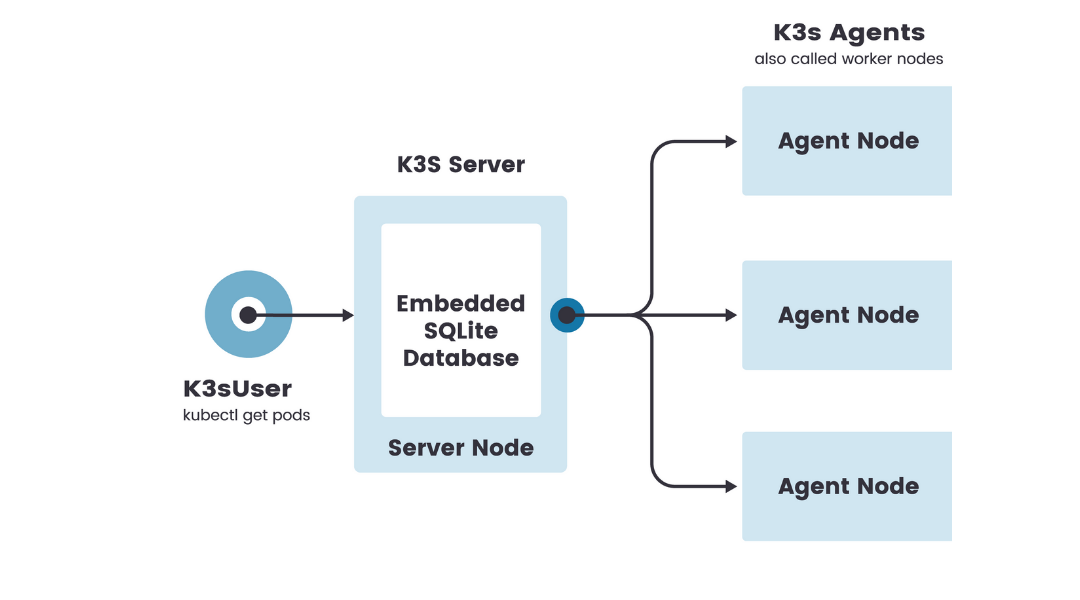
I based my installation on the single-server setup with an embedded database documented by Rancher. In my configuration, node1 is running k3s in server mode and node[2:6] is running it in agent mode. Here’s a breakdown of what I had to do to install k3s.
Installation
Note During the installation process I encountered this error:
[INFO] Failed to find memory cgroup, you may need to add "cgroup_memory=1 cgroup_enable=memory" to your linux cmdline (/boot/cmdline.txt on a Raspberry Pi)
To resolve the issue, I added the recommended flags to the linux cmdline as the error message suggests on each node before installing k3s.
On node1 I installed k3s.
curl -sfL <<<<<<<<https://get.k3s.io>>>>>>>> | sh -
Then, I started k3s in server mode:
k3s server
The other nodes were even easier. When it’s installed and run, k3s will check for K3S_URL and K3S_TOKEN environment variables. If they are set, then k3s assumes this is a worker node and starts up in agent mode. As root, I copied the token value from node1:/var/lib/rancher/k3s/server/node-token and used the following command to install k3s and automatically register the node with the server running on node1 (full token values omitted):
curl -sfL <<<<<<<<https://get.k3s.io>>>>>>>> | K3S_URL=<<<<<<<<https://node1:6443>>>>>>>> K3S_TOKEN=K109...f2bb::server:bc1...2e9 sh -
Result
I checked out the results of my installation on node1 using k3s kubectl get nodes.
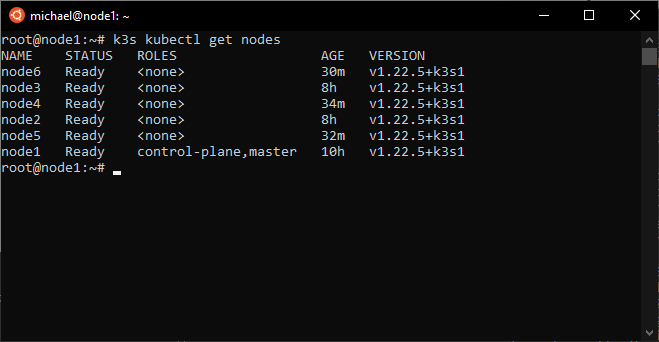
Published on 20 January 2022.
Using the jekyll-seo-tag plugin
Social Cards
Without using SEO tags to serve metadata for social media, links will appear plainly and without much to draw the eye. I wanted to change how my blog post presents on social media, so I searched for how to add SEO tags to my existing blog. Since my blog is built on GitHub Pages and thus uses Jekyll, I was able to install the jekyll-seo-tag plugin. Here’s how.
Install jekyll-seo-tag
In the Gemfile of the Jekyll project add the following line:
gem 'jekyll-seo-tag'
The Gemfile is used when testing my blog locally using bundle exec jekyll serve.
In the _config.yml of the project, find the plugins_dir section and add the following line:
- jekyll-seo-tag
A GitHub Actions workflow will execute builds and include the jekyll-seo-tag plugin now configured in _config.yml when generating the static assets during the build process.
Add SEO frontmatter
My blog is a fork of gh-pages-blog. jekyll-seo-tag requires frontmatter to be added to two files, located in the _includes/head directory. I simply added the following frontmatter expression in the <head> tags of page.html (which represents the parent blog) and post.html (which represents any individual post):
{ % seo % }
NOTE I added spaces on either side of the Liquid expression (the braces and percent symbol) to avoid Jekyll from replacing it with the SEO data it generates during the build process of the blog. Check out more about static files from Jekyll.
After this change in the static files, I am now able to add an image property to any post to specify a social card. Any post without a value for image will use a default social card, which is also the card used for the parent blog. Posts are written in Markdown (GFM) and the property values are written in a comment header. An example below is how Jekyll knows what to call this post.
---

layout : post
title : Using the jekyll-seo-tag plugin
category : social

image : "/seo/2022-01-11.png"
---
Resources
I put all this together thanks to this very helpful blog post from Meagan Waller.
These pages are useful for testing meta tags:
Published on 11 January 2022.

About michaellamb.dev
Michael Lamb is a software engineer working at C Spire. If you have a blog-specific inquiry please create a new issue on GitHub. Feel free to fork this blog and build your own!Get to know who I am in my first post Hello, World!