A tech & life blog written and maintained by Michael Lamb
Uptime Kuma - cloudflared integration
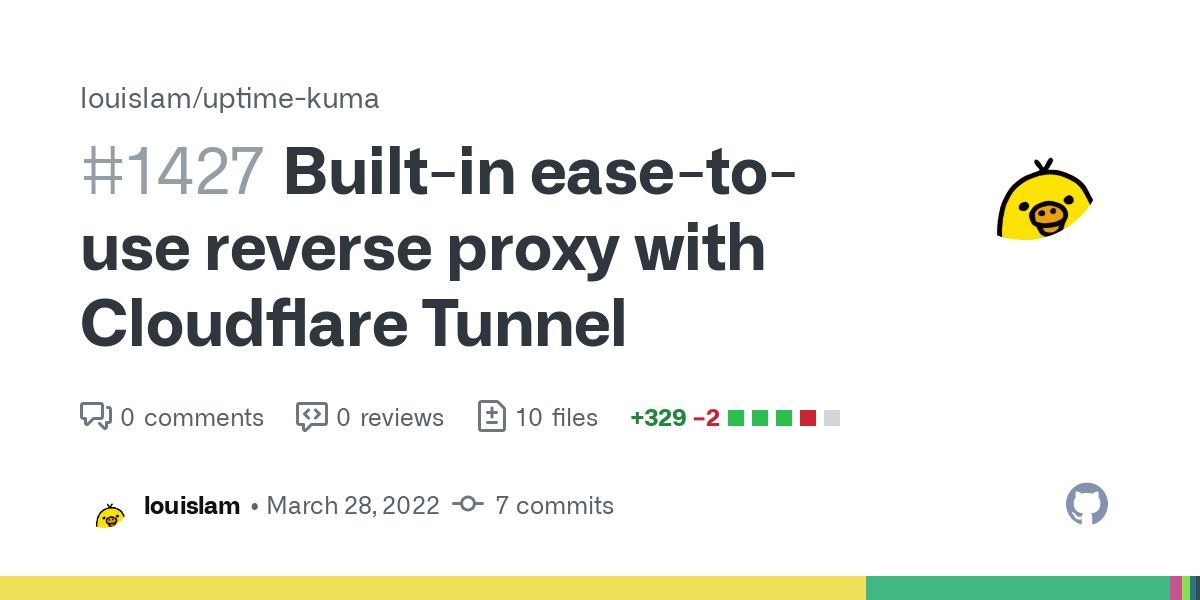
Uptime Kuma, the project behind status.michaellamb.dev, recently merged a pull request which adds an interesting ease-of-use feature: integration with Cloudflare’s tunneling technology using cloudflared, a tunnel client which simplifies proxying requests from behind a firewall by leveraging the Cloudflare network.
Pros:
- Free of charge
- Full GUI, zero-config files
- You can put your Uptime Kuma behind firewall
- No need to expose your real IP
- No need nginx, caddy, traefik etc
- Zero-config SSL
- Free SSL
Cons:
- (Not a con if you are already using Cloudflare) Your domain’s nameserver have to move to Cloudflare
- add 30MB to the docker base image
Once installed, you can authenticate cloudflared into your Cloudflare account and begin creating Tunnels to serve traffic to your origins.
- Create a Tunnel with these instructions
- Route traffic to that Tunnel:
- Via public DNS records in Cloudflare
- Or via a public hostname guided by a Cloudflare Load Balancer
- Or from WARP client private traffic
Published on 05 April 2022.
Featured Project - the fuck
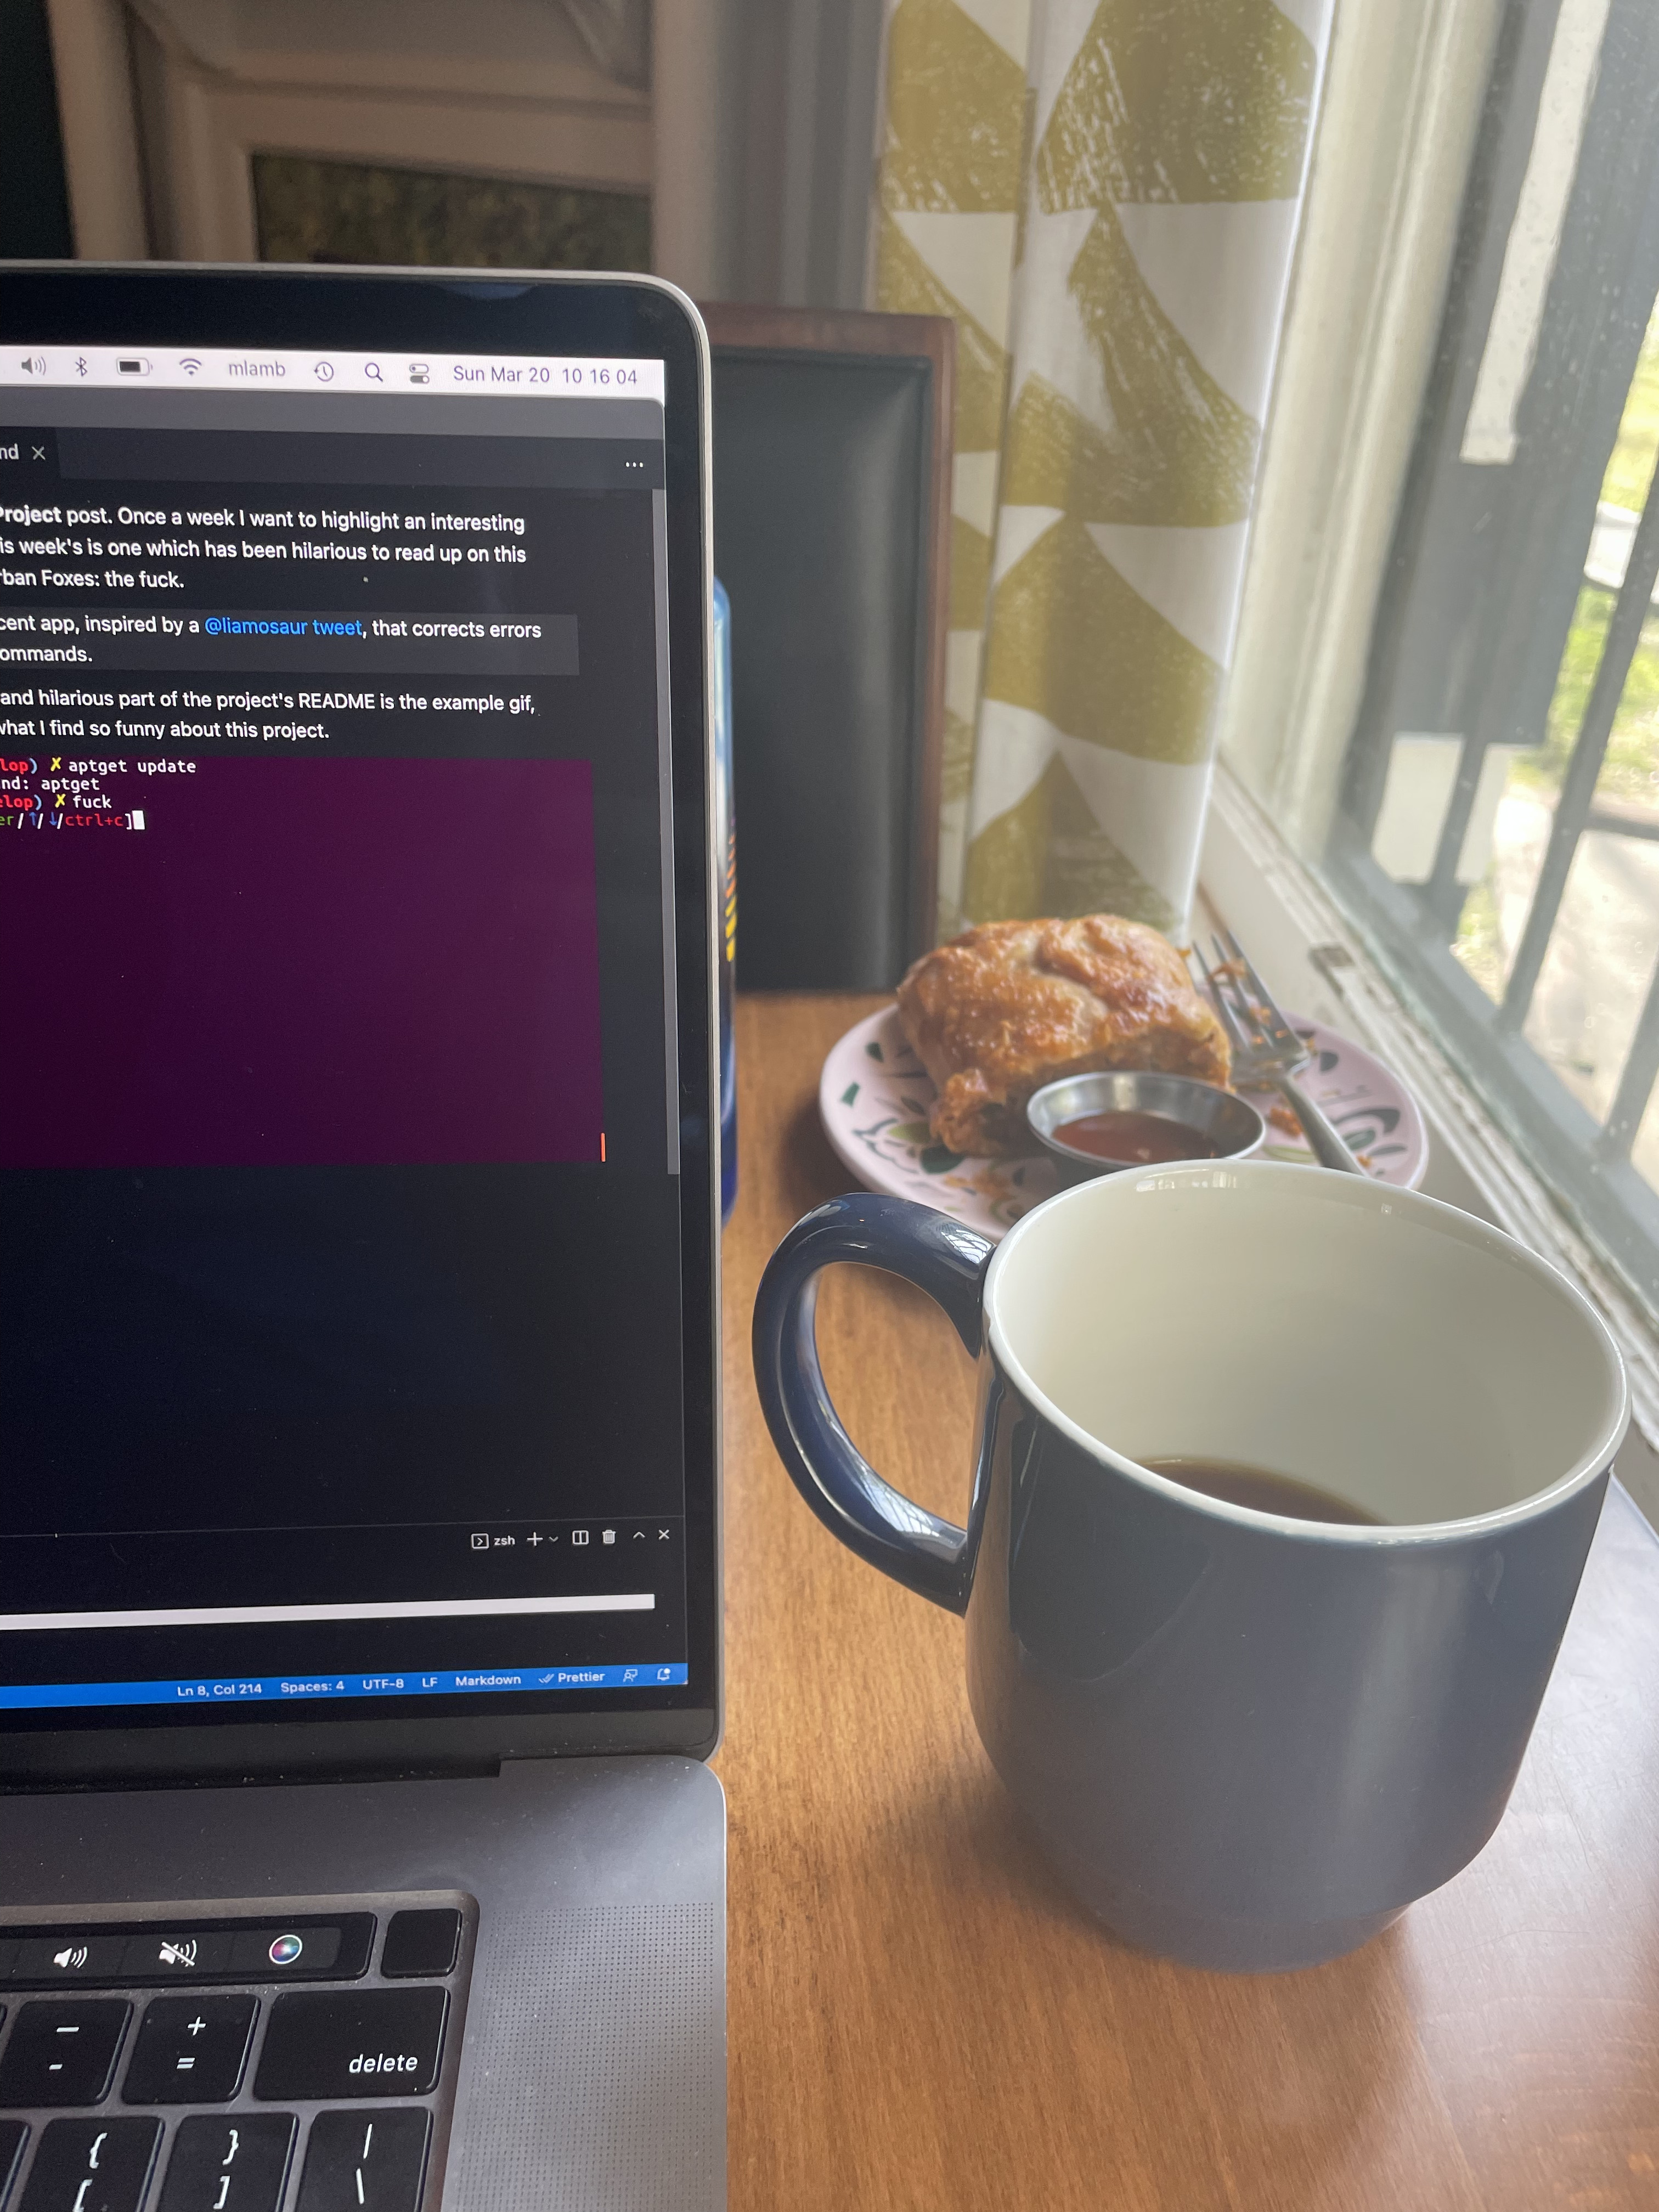
But first, coffee
I’m writing to you live from Urban Foxes in Belhaven Heights.
Featured Projects
This is my first Featured Project post. Once a week I want to highlight an interesting software project I find. This week’s is one which has been hilarious to read up on this morning over coffee at Urban Foxes: The Fuck.
the fuck
From the GitHub repo:
The Fuck is a magnificent app, inspired by a @liamosaur
tweet, that corrects errors in previous console commands.
The most eye-catching and hilarious part of the project’s README is the example gif, clearly demonstrating what I find so funny about this project.

I installed The Fuck using Homebrew on Mac OS.
meme update
I don’t have enough outlets for sharing memes, and especially spicy memes like this one (sent to me by Matthew Lewis) need a special memorialization.

Published on 20 March 2022.
Docker Buildx and Platform-specific Images
Problem
I am playing around with a new build pipeline. I want to be able to create Spring Boot applications and build Docker images that can run on a Raspberry Pi computer. Because the Pi uses an ARM processor the image build step is more involved. In this post, I will outline how I built an ARM-specific image from my Spring Boot demo codebase.
Required
- Java 8
- Maven (mvnw packaged with repo)
- Docker
Build Steps
Maven
First, we use Maven to compile the Java code into a JAR. This can be accomplished from the commandline.
mvnw spring-boot:build-image
Successful build console output:
[INFO] Scanning for projects...
[INFO]
[INFO] --------------------------< dev.michael:demo >--------------------------

[INFO] Building demo 0.0.1

[INFO] --------------------------------[ jar ]---------------------------------
[INFO]

[INFO] >>> spring-boot-maven-plugin:2.6.3:build-image (default-cli) > package @ demo >>>

[INFO]

[INFO] --- maven-resources-plugin:3.2.0:resources (default-resources) @ demo ---

[INFO] Using 'UTF-8' encoding to copy filtered resources.
[INFO] Using 'UTF-8' encoding to copy filtered properties files.
[INFO] Copying 1 resource
[INFO] Copying 0 resource
[INFO]

[INFO] --- maven-compiler-plugin:3.8.1:compile (default-compile) @ demo ---

[INFO] Changes detected - recompiling the module!
[INFO] Compiling 5 source files to C:\Workspace\demo\demo\target\classes
[INFO]

[INFO] --- maven-resources-plugin:3.2.0:testResources (default-testResources) @ demo ---

[INFO] Using 'UTF-8' encoding to copy filtered resources.
[INFO] Using 'UTF-8' encoding to copy filtered properties files.
[INFO] skip non existing resourceDirectory C:\Workspace\demo\demo\src\test\resources
[INFO]

[INFO] --- maven-compiler-plugin:3.8.1:testCompile (default-testCompile) @ demo ---

[INFO] Changes detected - recompiling the module!
[INFO] Compiling 1 source file to C:\Workspace\demo\demo\target\test-classes
[INFO]

[INFO] --- maven-surefire-plugin:2.22.2:test (default-test) @ demo ---

[INFO]
[INFO] -------------------------------------------------------
[INFO]  T E S T S
[INFO] -------------------------------------------------------
[INFO] Running dev.michael.demo.DemoApplicationTests
... (tests omitted)

[INFO] Tests run: 1, Failures: 0, Errors: 0, Skipped: 0, Time elapsed: 5.863 s - in dev.michael.demo.DemoApplicationTests

[INFO]
[INFO] Results:
[INFO]
[INFO] Tests run: 1, Failures: 0, Errors: 0, Skipped: 0
[INFO]
[INFO] ------------------------------------------------------------------------
[INFO] BUILD SUCCESS
[INFO] ------------------------------------------------------------------------
[INFO] Total time:  01:23 min
[INFO] Finished at: 2022-03-11T22:08:02-06:00
[INFO] ------------------------------------------------------------------------
Docker
Docker users may be familiar with the docker build command. buildx is “build extended” which is an experimental CLI command to enable the creation of platform-specific Docker images. Here’s the command I used to generate one for the 32-bit OS running on my Pis.
docker buildx build --push --platform=linux/arm/v7 --tag=michaellambgelo/demo:latest .
The output shows Docker using Buildkit. The dockerfile lets Docker know how to package and start an application container. With openjdk:8-jdk-alpine included as the container OS runtime the Spring Boot application is then pushed to the Docker registry. From the registry, the image can be downloaded to whatever Pi/Docker configuration I want.
[+] Building 38.7s (11/11) FINISHED

 => [internal] booting buildkit                                                                                                                                                                                         1.5s
 => => starting container buildx_buildkit_magical_thompson0                                                                                                                                                             1.5s
 => [internal] load build definition from Dockerfile                                                                                                                                                                    0.1s
 => => transferring dockerfile: 141B                                                                                                                                                                                    0.0s
 => [internal] load .dockerignore                                                                                                                                                                                       0.1s
 => => transferring context: 2B                                                                                                                                                                                         0.0s
 => [internal] load metadata for docker.io/library/openjdk:8-jdk-alpine                                                                                                                                                 3.1s
 => [auth] library/openjdk:pull token for registry-1.docker.io                                                                                                                                                          0.0s
 => [internal] load build context                                                                                                                                                                                       0.8s
 => => transferring context: 30.75MB                                                                                                                                                                                    0.7s
 => [1/2] FROM docker.io/library/openjdk:8-jdk-alpine@sha256:94792824df2df33402f201713f932b58cb9de94a0cd524164a0f2283343547b3                                                                                           7.1s
 => => resolve docker.io/library/openjdk:8-jdk-alpine@sha256:94792824df2df33402f201713f932b58cb9de94a0cd524164a0f2283343547b3                                                                                           0.1s
 => => sha256:43ff02e0daa55f3a4df7eab4f7128e6b39b03ece75dfeedb53bf646fce03529c 67.40MB / 67.40MB                                                                                                                        6.4s
 => => sha256:962e53e3f8337e63290eb26703e31f0e87d70db371afae581ad3898b1dccb972 238B / 238B                                                                                                                              0.1s
 => => sha256:856f4240f8dba160c5323506c1e9a4dbaaca840bf1b0c244af3b8d1b42b0f43b 2.35MB / 2.35MB                                                                                                                          0.9s
 => => pushing layers                                                                                                                                                                                                  22.4s
 => => pushing manifest for docker.io/michaellambgelo/demo:latest@sha256:87640f491f579237e378aa832614df036720da21ed0d74cbe248ba1ed6ae4acb                                                                               0.3s
 => [auth] michaellambgelo/demo:pull,push token for registry-1.docker.io                                                                                                                                                0.0s
 => [auth] michaellambgelo/demo:pull,push token for registry-1.docker.io
Future
I want to look into using Spotify Dockerfile Maven which takes an opinionated view of the Maven and Docker build processes, enabling users to combine the two build steps into one.
Published on 14 March 2022.
Introducing status.michaellamb.dev
Using Docker, I wanted to create a new subdomain pointing to my Pi cluster to show the uptime for the cluster.
What is Docker
Docker combines an application and its depdencies in a package which can be executed in an isolated container runtime.
VM vs Container
A container is an isolated runtime environment managed by an operating system. A virtual machine (VM) is an abstraction of a physical machine which runs an isolated operating system. VMs are limited for application development compared to containers as multiple containers can run in parallel on a single node, networked together by Docker.
Docker Projects
Uptime Kuma

I wanted to be able to host applications on my Pi cluster using Docker. I’ve got a deployment running Uptime Kuma, a self-hosted monitoring dashboard.
If you visit status.michaellamb.dev you can view this application. Of course, to set up the subdomain required me to make some DNS changes. Since I only use Google as the domain registrar and prefer the encrypted email service provided by ProtonMail for secure correspondence, I opted to use Cloudflare to provide DNS entries. Cloudflare is able to use my home network IP and serve michaellamb.dev websites and apps. All of this Cloudflare directed traffic is first sent through a proxy manager.
Nginx Proxy Manager

I am interested in hosting more applications and I wanted to leverage nginx as a proxy manager as I add more applications to my cluster. Nginx Proxy Manager fits the bill as it allows me to add proxy hosts and serve applications over SSL using Let’s Encrypt. As traffic comes in from Cloudflare, the proxy manager directs it to the correct node in my cluster.
Introducing status.michaellamb.dev

status.michaellamb.dev is where you can go to see the applications I’m running on my cluster. Since I consider the cluster to be an opportunity to pratice learning in public, I hope it is an interesting way for the people who happen to read this blog to stay connected. If you’re in Jackson and want to talk tech, connect with me on my socials. Find them all at link.michaellamb.dev.
Published on 07 March 2022.
Adding Swagger UI to Spring Boot projects
Spring Boot is a powerful project from the Spring ecosystem which enables developers to maximize their leverage of Spring applications. Standalone projects can be generated at start.spring.io with any other additional dependencies of Spring project included in just a few clicks.
I have created a Spring Boot demo project available on my GitHub. I plan to use this project to demonstrate some tasks I perform regularly in Spring Boot.

Swagger UI
If you’ve been a follower of this blog you might recall I have previously integrated Swagger UI into a Go application (check out this blog post from October 2021).
Swagger is a suite of tools which seeks to provide OpenAPI specifications and definitions. Codebases can be generated from a Swagger doc, just as an existing codebase can be documented by adding Swagger-identifiable annotations.
In this post I will show how I integrated Springfox Swagger UI into my Spring Boot application.
Considerations
This configuration assumes an existing Spring Boot project and integrates io.springfox/swagger-boot-starter (version 3.0.0).
pom.xml
Add the Springfox Spring Boot starter dependency.
<dependency>
    <groupId>io.springfox</groupId>
    <artifactId>springfox-boot-starter</artifactId>

    <version>3.0.0</version>

</dependency>
springfox-boot-starter provides the following artifacts from io.springfox:
springfox-oasspringfox-data-restspringfox-bean-validatorsspringfox-swagger2springfox-swagger-ui
Main Application Entry Point
Wherever your Spring Boot app starts is dependent on your project. In my demo, this is a file called DemoApplication.java.
In this file, only two annotations need to be added to the base class:
@EnableOpenApi
@EnableSwagger2
AppConfiguration.java
If it doesn’t exist yet, create a new Java class called AppConfiguration.java. The class itself will be empty but it will have a few annotations that will enable Springfox to scan the application code and identify endpoints.
@Configuration
@EnableWebMvc
@ComponentScan("dev.michael.demo")
@EnableOpenApi
public class AppConfiguration {
}
SpringConfig.java
SpringConfig.java will implement the WebMvcConfigurer interface. It will override a couple of methods so that Spring Boot can serve Swagger UI alongside the Spring Boot app.
@Override
public void addResourceHandlers(ResourceHandlerRegistry registry) {
registry.
    addResourceHandler("/swagger-ui/**")
    .addResourceLocations("classpath:/META-INF/resources/webjars/springfox-swagger-ui/")
    .resourceChain(false);
}
addResourceHandlers will enable Spring Boot to find Swagger resources.
@Override
public void addViewControllers(ViewControllerRegistry registry) {
registry.addViewController("/swagger-ui/")
    .setViewName("forward:" + "/swagger-ui/index.html");
}
addViewControllers will enable Spring Boot to serve the main Swagger UI page.
Conclusion
Swagger UI will now automatically generate API documentation every time the Spring Boot application is started.
Published on 01 March 2022.

About michaellamb.dev
Michael Lamb is a software engineer working at C Spire. If you have a blog-specific inquiry please create a new issue on GitHub. Feel free to fork this blog and build your own!Get to know who I am in my first post Hello, World!